2026 Best Tips for Installing Downlights in Ceiling Properly?

Time:2026-07-19 Author:Isabella
0%

Installing downlights in your ceiling can transform your space. Proper installation is key to achieving the right ambiance and functionality. Understanding how to install downlights correctly in the ceiling ensures both safety and aesthetics.

Each step in the installation process matters. Mistakes can lead to dim lighting or even electrical hazards. Selecting the right tools and materials is essential. You might want to consider the layout and design of your room. This adds an element of personal style.

Some may overlook the importance of placement. Positioning can greatly affect the atmosphere and brightness. Remember, downlights should provide balanced lighting without harsh shadows. It’s vital to plan accordingly before diving into installation. Reflect on past attempts to learn what works best. Through careful preparation, your project can bring the satisfaction of a job well done.
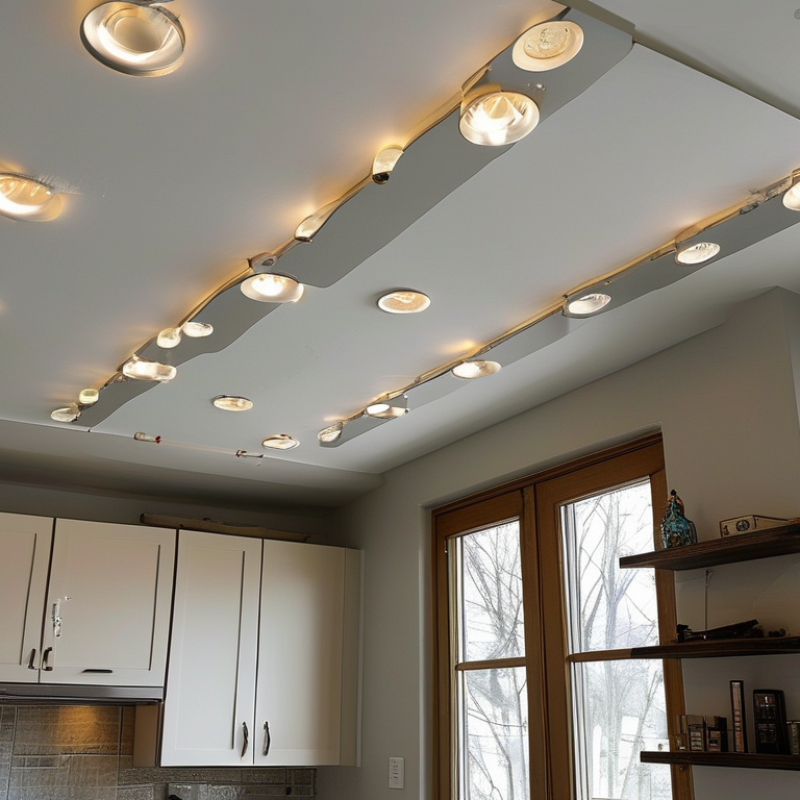
2026 Best Tips for Installing Downlights in Ceiling Properly?

Understanding Different Types of Downlights for Ceiling Installation

When it comes to installing downlights into your ceiling, understanding the different types is crucial. Recessed downlights, for instance, are popular for their clean look. They are installed into the ceiling itself, providing a seamless appearance. However, be aware of the ceiling height. Low ceilings can make recessed lights seem cramped and uninviting.

Surface-mounted downlights are another option. They sit on the ceiling rather than inside it. This type can offer dramatic lighting effects. Still, it's essential to consider the room's overall design. Sometimes, the surface-mounted variety can clash with modern aesthetics. Choose these carefully to maintain a cohesive look.

Track lights are versatile, allowing you to direct light where needed. However, they can sometimes appear clunky or overbearing in smaller spaces. Think about the balance of functionality and style when opting for this type. Every installation should enhance the room. Take time to assess your needs and preferences before deciding. Small details can make a big difference.

2026 Best Tips for Installing Downlights in Ceiling Properly

Choosing the Right Location for Your Downlights in the Ceiling

Choosing the right location for downlights in your ceiling is crucial for effective lighting. Start by considering the purpose of the room. For instance, in a kitchen, you may need brighter light over countertops. In a living room, softer light can create a cozy atmosphere.

Pay attention to the height of your ceiling. Low ceilings require careful placement to avoid shadows. Try not to install downlights too close together. This can lead to a wash of light that lacks interest. Instead, spread them out to create a balanced glow.

Consider the direction of the light as well. Downlights can highlight focal points, like artwork or architectural features. However, improper positioning can result in an uneven distribution. It’s essential to experiment a bit before making permanent installations. Measuring the distance from walls and furniture can help guide your decisions. Remember, it’s a process that often involves trial and error.

Essential Tools and Materials Needed for Downlight Installation

When installing downlights, having the right tools and materials is crucial. You will need a drill, a hole saw for the ceiling, and a ladder. A stud finder helps locate joists, ensuring a secure fit. Using a good-quality wire stripper also makes the electrical connections easier. Don’t forget safety goggles. They protect your eyes from debris while working overhead.

Additionally, you'll require the downlights themselves, along with junction boxes. A voltage tester is essential for checking power supply. If your project requires dimmers, make sure you select compatible types. Wire nuts are necessary for connecting wires securely. Each item plays a vital role in a successful installation.

However, not every installation will go smoothly. Sometimes, the wiring might not match your expectations. You could find unexpected obstructions in the ceiling. It’s important to double-check all measurements before cutting. Ensuring everything is correct can save you time and effort later. Mistakes happen, but learning from them makes you better prepared.

Step-by-Step Guide to Installing Downlights Safely and Effectively

Installing downlights in your ceiling requires careful planning and execution. Safe installation begins with identifying the right location. Many experts recommend placing downlights 3 to 4 feet apart. This spacing ensures even light distribution, enhancing your room’s ambiance. However, it’s essential to consider any obstacles in your ceiling structure, like beams or ductwork, which could complicate installation.

Before starting, gather necessary tools and materials. You'll need a drill, measuring tape, and wire connectors. According to the National Electrical Code (NEC), all electrical connections should meet safety standards. Installing a dimmer switch can also improve light control, with reports suggesting they can save up to 30% on energy usage. Before making any cuts in your ceiling, double-check with a stud finder to avoid running into electrical wires or plumbing.

After cutting the holes for your downlights, take a moment to ensure that the fixtures fit snugly. Improper fit can lead to gaps, which are not only unsightly but can also introduce potential fire hazards. Testing before fully securing the lights is crucial. Light should fill your space evenly without harsh shadows or glaring spots. If something feels off, it’s worth reassessing your placements and connections. Always remember that safety and functionality should come first, ensuring that your installation meets both design and safety standards.

Common Mistakes to Avoid When Installing Ceiling Downlights

When installing ceiling downlights, common mistakes can lead to disappointing results. One frequent error is spacing. Placing lights too far apart can create dark patches. Conversely, installing them too close may cause glare. Proper measurement is key. Aim for a consistent distance that evenly distributes light throughout the room.

Another common mistake is underestimating wattage and brightness. Too dim lights make a space feel gloomy. It’s essential to consider the room's purpose. A cozy setting needs softer lighting, while a workspace requires brighter illumination. Always check the specifications to avoid mismatched expectations.

Ignoring the ceiling's material is another pitfall. Some ceilings may not support the weight or heat of downlights. Proper insulation and fire safety standards must be considered. Take time to research the best practices for your specific ceiling type. This ensures durability and safety in the long run. Remember, planning ahead can prevent costly reinstallations.

2026 Best Tips for Installing Downlights in Ceiling Properly? - Common Mistakes to Avoid When Installing Ceiling Downlights

Tip Number Installation Tip Common Mistake to Avoid Notes
1 Choose the right type of downlight Using incompatible bulbs LED options are energy-efficient
2 Plan your layout Ignoring room proportions Consider spacing for even light distribution
3 Check ceiling height Placing lights too high or low Maintain a comfortable light level
4 Use proper fittings Overloading electrical circuits Check wattage and compatibility
5 Consider dimming options Forgetting dimmer compatibility Use LED-compatible dimmers

FAQS

: How should I space downlights in a room?

: Experts recommend spacing downlights 3 to 4 feet apart for even light distribution.

What tools do I need for installation?

You’ll need a drill, measuring tape, and wire connectors.

Why should I install a dimmer switch?

A dimmer switch improves light control and can save up to 30% on energy usage.

How do I avoid hitting wires or pipes when cutting holes?

Always use a stud finder before making cuts in your ceiling.

What happens if downlights don't fit snugly?

Improper fit can create gaps, leading to fire hazards and an unappealing look.

What light brightness should I choose for different spaces?

Consider the room’s purpose: softer lighting for cozy spaces, brighter for work areas.

How does ceiling material affect installation?

Some ceilings may not support downlights' weight or heat; research your ceiling type carefully.

What common mistake leads to dark patches?

Spacing lights too far apart can result in dark areas in the room.

How can planning help prevent issues?

Planning ahead can avoid costly reinstallations and ensure safety and functionality.

What is a common pitfall regarding wattage?

Underestimating wattage can lead to dim lighting, making a space feel gloomy.

Conclusion

When considering how to install downlights correctly in the ceiling, it’s essential to first understand the different types of downlights available and their specific benefits. Once you’ve selected suitable downlights, choosing the right location is crucial for effective lighting. This involves considering factors such as room size and function to enhance both aesthetics and practicality.

Before you begin the installation, gather all essential tools and materials, ensuring you have everything at hand. The step-by-step guide to installing downlights safely outlines key procedures to follow, emphasizing electrical safety and proper fixture placement. Additionally, it highlights common mistakes to avoid, which can help ensure a successful installation. By following these guidelines, you can achieve a well-lit, stylish space with your newly installed downlights.

Isabella

Isabella

Isabella is a dedicated marketing professional with a sharp focus on driving brand growth and engagement through strategic content creation. With an extensive background in digital marketing, she combines her passion for storytelling with her keen understanding of industry trends to deliver......