Cleaning downlights can be tricky. Knowing how to clean downlights without damaging them is essential. Dirty downlights can dim your space and affect the overall ambiance. Dust and grime accumulate over time, potentially leading to fixture failure.
Many homeowners are unsure about the best methods. Using the wrong tools can lead to scratches or even breakage. Understanding the right techniques can enhance the lifespan of your lights. Proper care prevents costly replacements and ensures your downlights shine brightly.
This guide will explore effective, safe ways to clean your downlights. By employing simple yet effective strategies, you can maintain their appearance. Remember, the goal is to clean without causing damage. Some methods may require practice or adjustment. Finding what works best for your fixtures may take time.
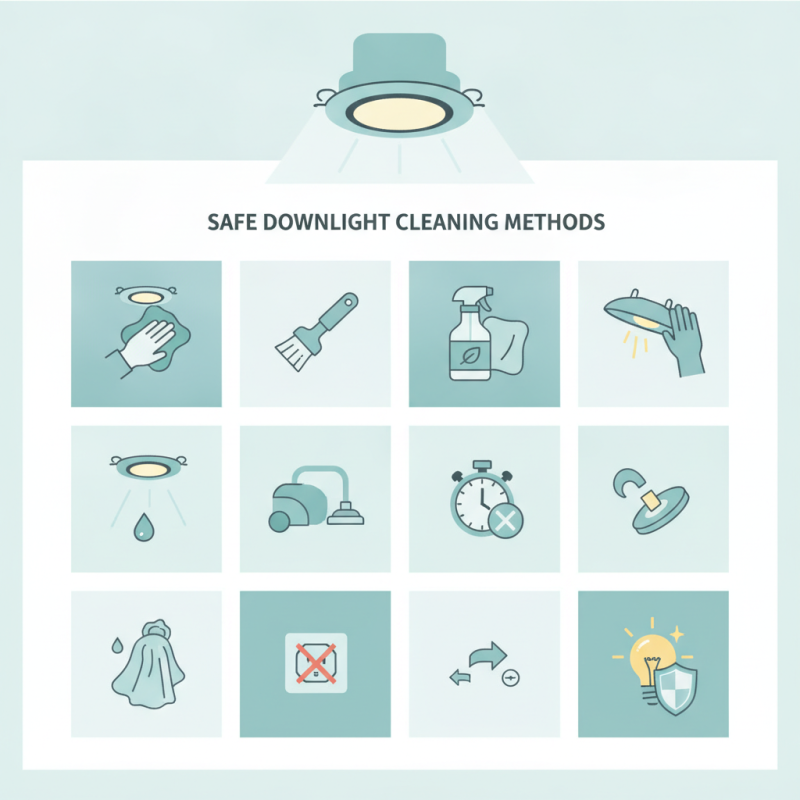
Cleaning downlights can be tricky. It's important to do it safely to avoid damage. Start by turning off the power. This prevents any electrical hazards while cleaning.
Use a microfiber cloth for gentle dusting. Avoid abrasive materials that could scratch surfaces.
For stubborn stains, a mixture of water with a few drops of dish soap is effective. Lightly dampen the cloth and wipe carefully. Make sure excess moisture does not drip into light fixtures.
For high ceilings, a vacuum cleaner with a brush attachment is a safer choice. It allows you to remove dust without climbing on ladders.
If you notice flickering lights, it might not just be dust. Check bulb connections too. Sometimes, cleaning reveals deeper issues.
Regular maintenance is key. Still, be cautious; over-cleaning can wear out fixtures faster than expected.
When cleaning downlight fixtures, understanding their materials is crucial. Downlights come in various types, including LED, halogen, and fluorescent models. Each type has its specific components, which means different cleaning methods apply.
LED downlights are sensitive, as their surfaces can scratch easily. Cleaning them requires a gentle touch, ideally with a microfiber cloth.
Halogen lights are more durable, but their glass can break if handled improperly. Fluorescent downlights may contain hazardous materials if broken, so extra caution is necessary.
Common materials in downlights include metal, glass, and plastic. Metal fixtures can corrode over time, especially if cleaned with harsh chemicals. Plastic components may yellow or scratch. Observing these issues brings up questions about the best cleaning solutions. It’s tempting to use strong detergents, but they can damage the surfaces. A simple solution of water and mild soap works best for most materials. Rinsing is essential, as residue can attract dust.
It’s vital to remember the risks of cleaning fixtures improperly. Some people may overlook the assembly of downlights while cleaning. Detaching them without understanding the wiring can lead to accidents. We often learn through mistakes, and reflecting on the cleaning process can help refine techniques.
The safest cleaning methods prioritize material knowledge and allow for reflective practices that ensure longevity and safety for downlight fixtures.
Cleaning downlights requires care to avoid damage. Selecting the right tools is essential. Microfiber cloths are safe and effective for dusting. A gentle duster can also reach high spots without scratching surfaces. Avoid paper towels; they can leave lint or scratch the lens.
A simple solution of warm water and mild dish soap works well for deeper cleaning. Dip the cloth into the solution, wring it out, and gently wipe down the light fixtures. Ensure the lights are cool before you start. For stubborn grime, a mix of vinegar and water can do wonders.
Completing the cleaning process involves ensuring all surfaces are dry before turning the lights back on. Overlooking the drying step can cause moisture buildup. It’s good to step back and inspect your work. An unexpected streak on the lens might require a second pass. Keeping these tools and solutions in check ensures downlights remain bright and undamaged.
Cleaning downlights can seem daunting, but with the right approach, you can do it safely. Start by turning off the power. This is crucial to prevent any accidents while cleaning. Use a step ladder to reach the fixtures safely. A microfiber cloth is ideal for this task. It effectively removes dust without scratching the surface.
Next, consider using a gentle cleaning solution. A mixture of warm water and vinegar can do wonders. Lightly dampen the cloth and wipe the fixture. Avoid excessive moisture, as it may seep into the wiring. Pay special attention to the corners and crevices where dust often gathers. These small areas can make a big difference in the overall appearance.
It is essential to keep your tools clean throughout the process. A dirty cloth may just spread dust around. Also, always step back periodically to evaluate your work. Are there spots you've missed? Reflect on what could be improved for next time. This mindful approach ensures your downlights are cleaned thoroughly and safely without causing any damage.
| Method | Materials Needed | Steps | Safety Tips |
|---|---|---|---|
| Microfiber Cloth | Microfiber cloth, Ladder | 1. Turn off power. 2. Use a ladder to reach downlight. 3. Wipe with a dry microfiber cloth. | Ensure ladder is stable, wear non-slip shoes. |
| Vacuum Cleaner | Vacuum cleaner with brush attachment | 1. Turn off power. 2. Use vacuum with brush to gently remove dust. | Ensure vacuum is rated for electronics. |
| Dusting Spray | Dusting spray, Microfiber cloth | 1. Turn off power. 2. Lightly spray cloth. 3. Wipe downlight. | Avoid overspray, test spray on small area. |
| Compressed Air | Compressed air can | 1. Turn off power. 2. Use compressed air to blow out dust. | Hold can upright, avoid contact with lamp. |
| Damp Cloth | Damp cloth, Ladder | 1. Turn off power. 2. Use a damp cloth to wipe down. | Ensure cloth is not dripping wet. |
| Soft Brush | Soft brush, Ladder | 1. Turn off power. 2. Use soft brush to gently remove dust. | Be gentle to avoid scratches. |
| Water and Vinegar Solution | Water, vinegar, spray bottle, cloth | 1. Turn off power. 2. Mix water and vinegar. 3. Spray cloth and wipe. | Test on small area first. |
| Commercial Cleaner | Commercial cleaner, cloth | 1. Turn off power. 2. Apply commercial cleaner to cloth. 3. Wipe downlight. | Follow manufacturer’s instructions. |
| Cotton Swabs | Cotton swabs, isopropyl alcohol | 1. Turn off power. 2. Moisten swab with alcohol. 3. Clean tight areas. | Do not use excessive moisture. |
Maintaining downlights is crucial for their longevity and efficiency. Regular cleaning prevents dust and grime build-up, which can dim light output. Start by ensuring the lights are off and cool before you begin any maintenance. A simple microfiber cloth can do wonders. Lightly dust the surface and fixtures to remove any loose particles.
A vacuum with a brush attachment can reach deeper areas. However, be careful not to scratch the surfaces. Instead of using harsh chemicals, opt for a mixture of water and mild soap when needed. Test any cleaning solution on a small part first. It's essential to avoid excess moisture, which can damage electrical components.
Reflecting on cleaning habits can reveal areas for improvement. Skipping maintenance can lead to decreased light quality and a shorter lifespan. Regular checks and cleanings should be integrated into your home care routine. Consider setting reminders to ensure these tasks are not overlooked.
: Always turn off the power first to avoid electrical hazards.
Use a microfiber cloth for gentle and effective dusting.
No, avoid abrasive materials as they can scratch and damage surfaces.
A mixture of water and a few drops of dish soap is effective.
Use a vacuum cleaner with a brush attachment to avoid climbing ladders.
Inspect bulb connections; cleaning might reveal deeper electrical issues.
No, different types like LED and halogen require distinct cleaning methods.
Residue can attract more dust if not rinsed properly.
Moisture buildup can occur, leading to potential damage.
Over-cleaning can wear out fixtures faster than expected; moderation is key.
Cleaning downlights can be a delicate task, but with the right approach, you can effectively maintain them without causing damage. Understanding the different types of downlight fixtures and their materials is crucial for selecting the appropriate cleaning methods. Essential cleaning tools and solutions tailored for downlights are necessary for safe maintenance. This article provides a step-by-step guide on how to clean downlights without damaging them, ensuring their functionality and aesthetic appeal.
Additionally, it offers professional tips for prolonging the lifespan and efficiency of your downlights. By following these guidelines, you can keep your lighting fixtures looking pristine while minimizing the risk of damage. Proper maintenance not only enhances the lighting quality in your space but also ensures safety and efficiency in their operation.
Diva Lights